Free UK Shipping for orders over £100
✨ Shop with Purpose ✨ Until 30 May 2026, 100% of profits go to Medical Aid for Palestinians
DIY Tutorial: Flatpack Bookcase into a Victorian-Inspired Statement Piece
10/2/20256 min read
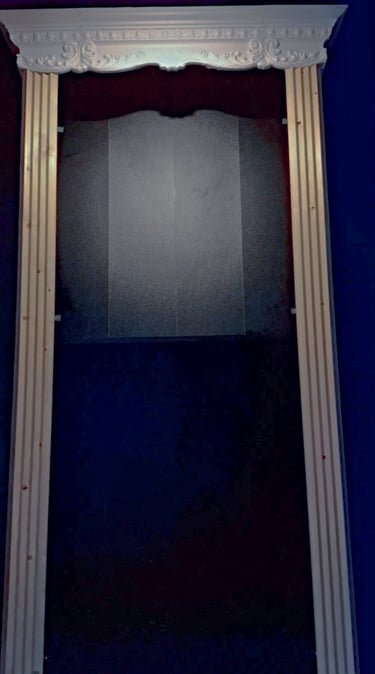
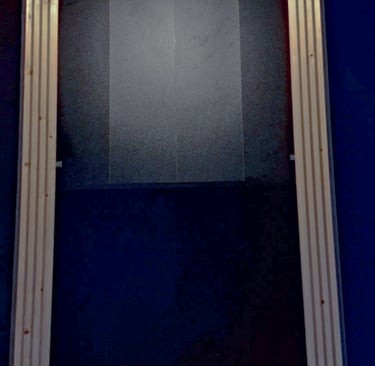
When you’re working with a small space, every corner counts. I have a small walk-in wardrobe with a vaulted ceiling. The wall behind the door was very tall with just a radiator on it. As a maximalist, this felt like wasted space. I love books and have a collection that could easily fill an entire room so using this space to give some of them a home seemed perfect. I decided to turn it into something special: a Victorian-inspired reading nook with a gallery wall.
The starting point? Finding a bookcase that would fit and still allow the door to open. I had a maximum depth of 22cm (about 8.5"). I also wanted to maximise the height. The answer- a simple £50 flatpack bookcase. Nothing fancy, just a budget-friendly piece with lots of potential.


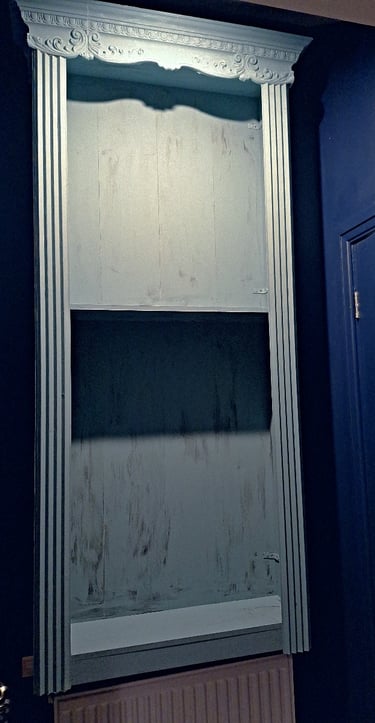
Before
Step 1: Building the Base
Flatpacks might not scream “character,” but they’re ideal for transforming because you’re not worried about “ruining” them. Once the bookcase was built it was figuring out how to mount it above the radiator to make sure it would be secure. We added a 2" thick planed wood CLS the length of the bookcase onto the wall at a suitable height above the radiator (radiators should have a gap of between 5-10cm (2-4") to allow adequate heat distribution). After mounting it on to the wall it was time to add the mouldings and wood trim.
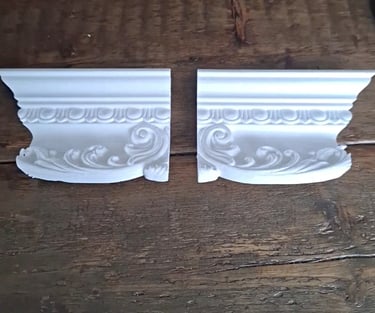
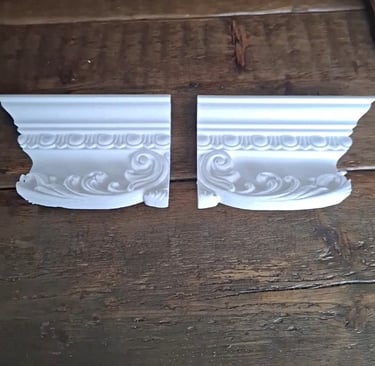
Step 2: Adding the Trims
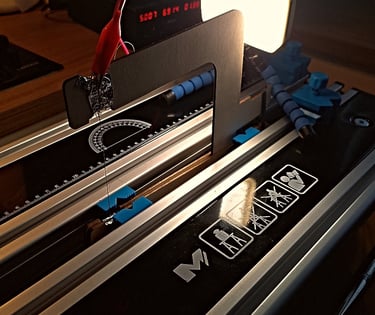
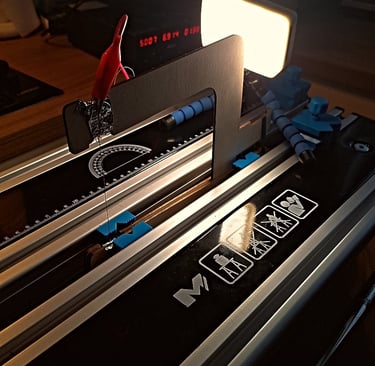
Wood carved mouldings are heavy and expensive. Since we only had a small space to work in which also had to accommodate the vaulted ceiling, I found polystyrene coving cornice moulding- light weight and easy to glue on to the top of the bookcase.
The downside- anyone who has ever come across polystyrene packaging knows what happens when you break it and those tiny white, light as a feather balls go everywhere! To avoid this we had to build a hotwire foam cutter 🫤. After laser cutting wood housing to keep the wire taut, adding aluminium foil as a conductor, we attached a constant current power supply. It cut through the polystyrene like butter 😀
After gluing on the coving moulding, we also attached wood trims to the lengths.
Tip- if you need to glue pieces of polystyrene use an suitable adhesive that can also fill gaps- regular glue doesn't work on polystyrene and can cause it to disintegrate.
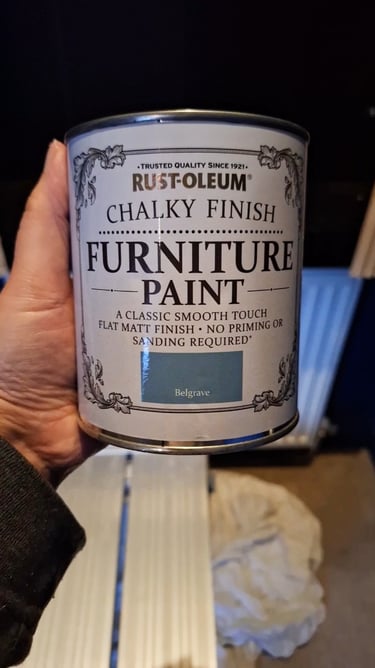
Step 3: Paint
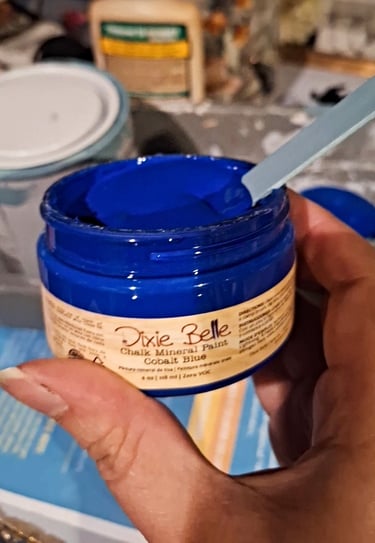
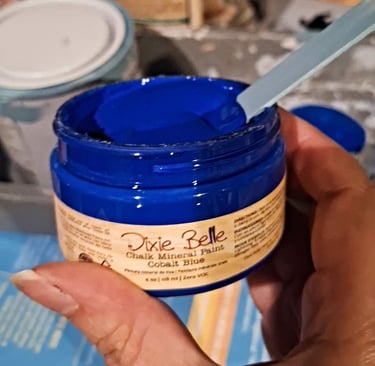
My room is a deep royal blue colour and I wanted the bookcase to look built in and part of the walls. I also wanted to give the bookcase a distress look. To do this I chose a light grey/blue chalk paint (chalk paint is awesome and reduces the need for too much sanding- in this case i didn't sand at all). Once the under-coat had the necessary drying time, I gave the whole thing 2 coats of Dixie Belle Chalk Mineral paint in Cobalt Blue.
Tip: To create a distressed look choose a lighter colour shade of your main colour as a base or why not opt for 2 completely different colours for a unique effect.


Step 5: Finishing Touches
Final finishing touches- adding on ornate wood mouldings and appliques to the bookcase. WoodUBend make wooden moulding mouldings and trims in an array of designs and styles. Made from sawdust mixed with resin, it has all the properties of wood in its cool state, but when heated the resin becomes flexible allowing the moulding to bend so it can be shaped. Love this stuff and have used it in many furniture altering projects.
To distress the bookcase, in the areas where the mouldings were raised, I took some sandpaper and lightly sanded the dark blue layer of paint to reveal the lighter one under it. Then using Prima Art Alchemy gold wax, I added some highlights on the coving and wood mouldings.
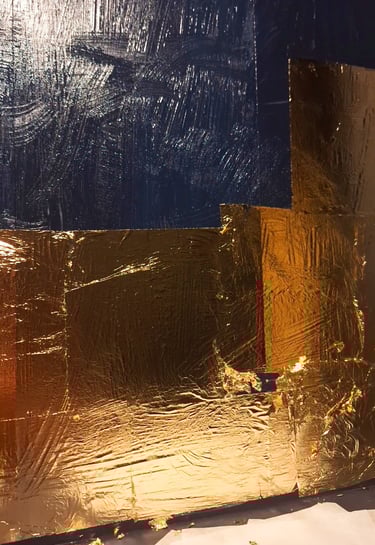
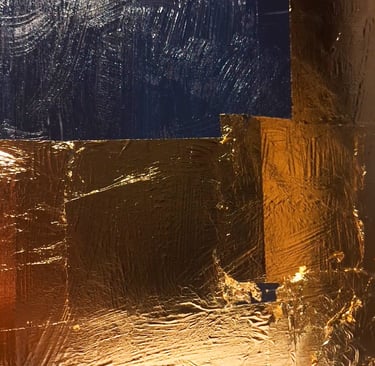
Step 3: Gold Gilding
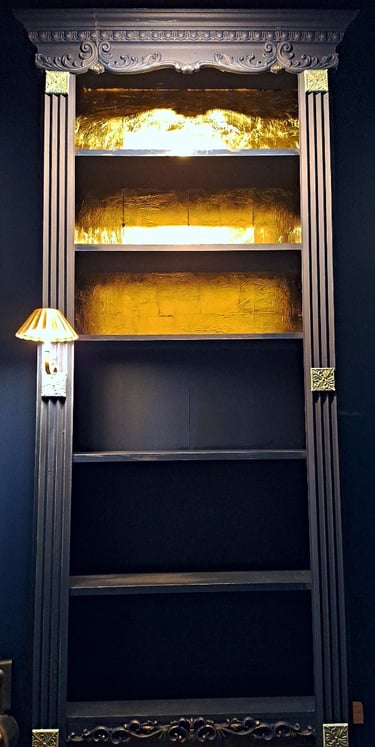
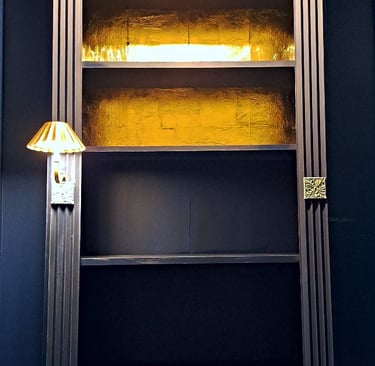
To give the bookcase an opulent look and also because it's painted a dark colour, I added some gold gilding to the top section. First adding gilding glue which, once dry turns opaque and sticky, then adding gold leaf sheets.
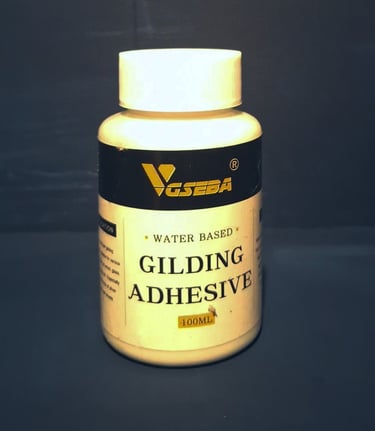
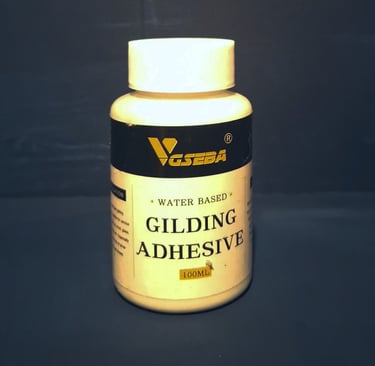
VGSEBA gilding Adhesive
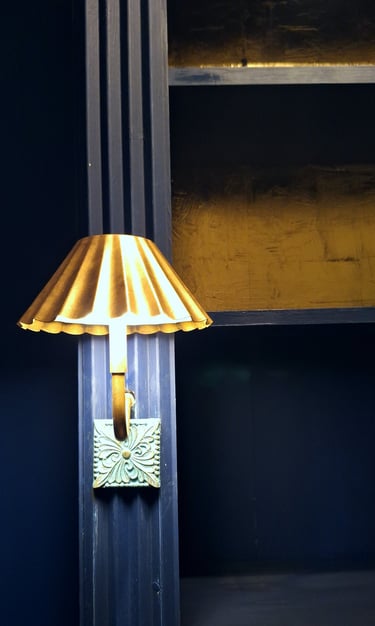
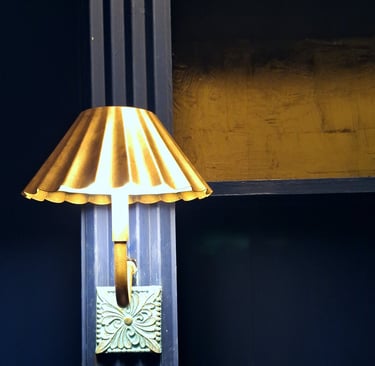
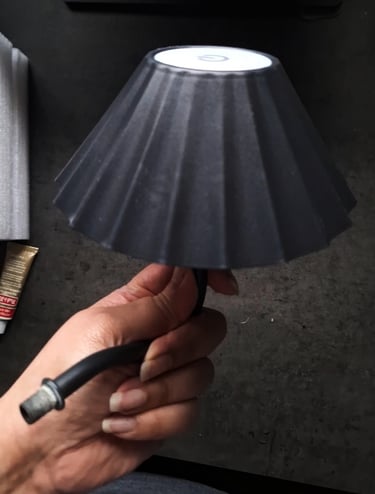
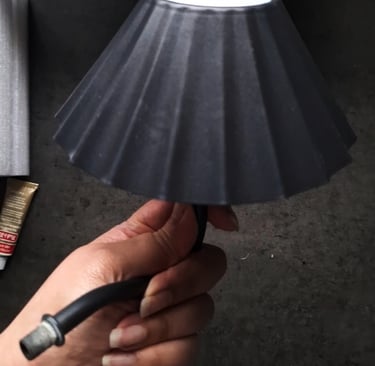
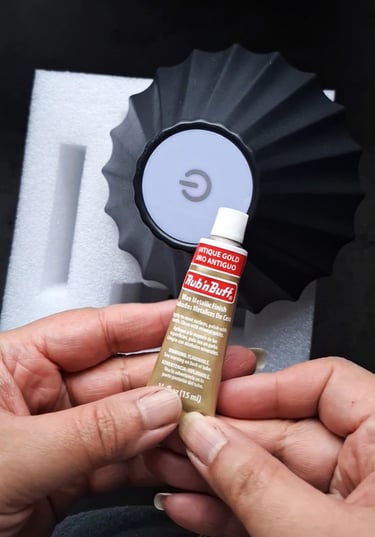
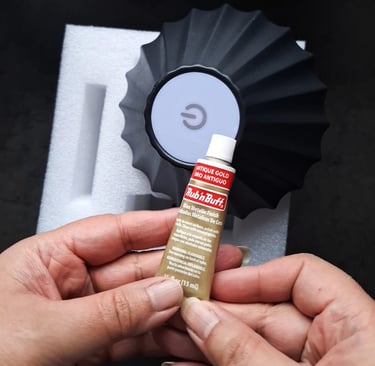
Step 4: Built in Lighting
You often find beautiful warm lighting built into library bookcases. I wanted something that could add that warm glow but didn't want to have to deal with wiring and trying to hide it. I came across this LED vintage look light in black. As an extra benefit it was a touch light with 3 different light options and USB chargeable so no wiring needed. After giving it a makeover with antique gold Rub n' Buff, I removed the back panel leaving just the arm and then drilled a hole into the bookcase trim and secured it.
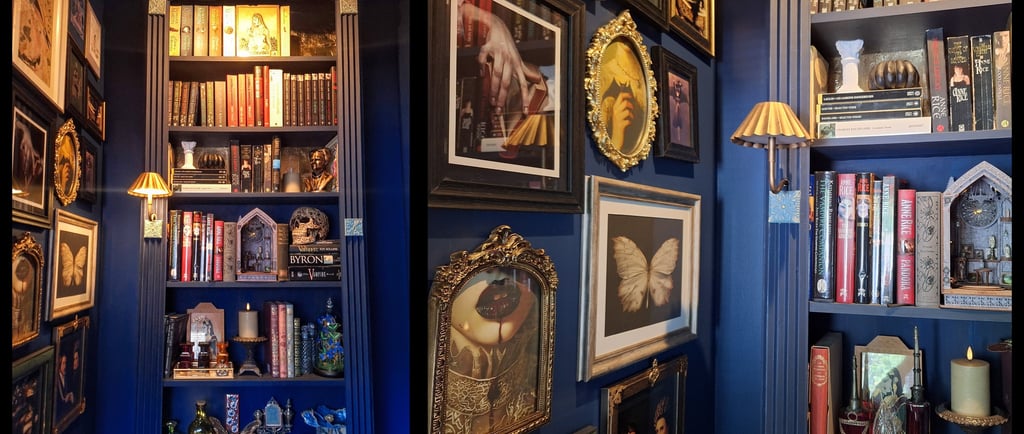
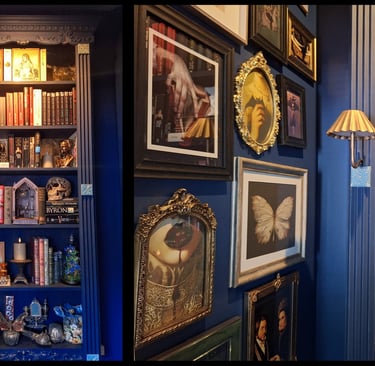
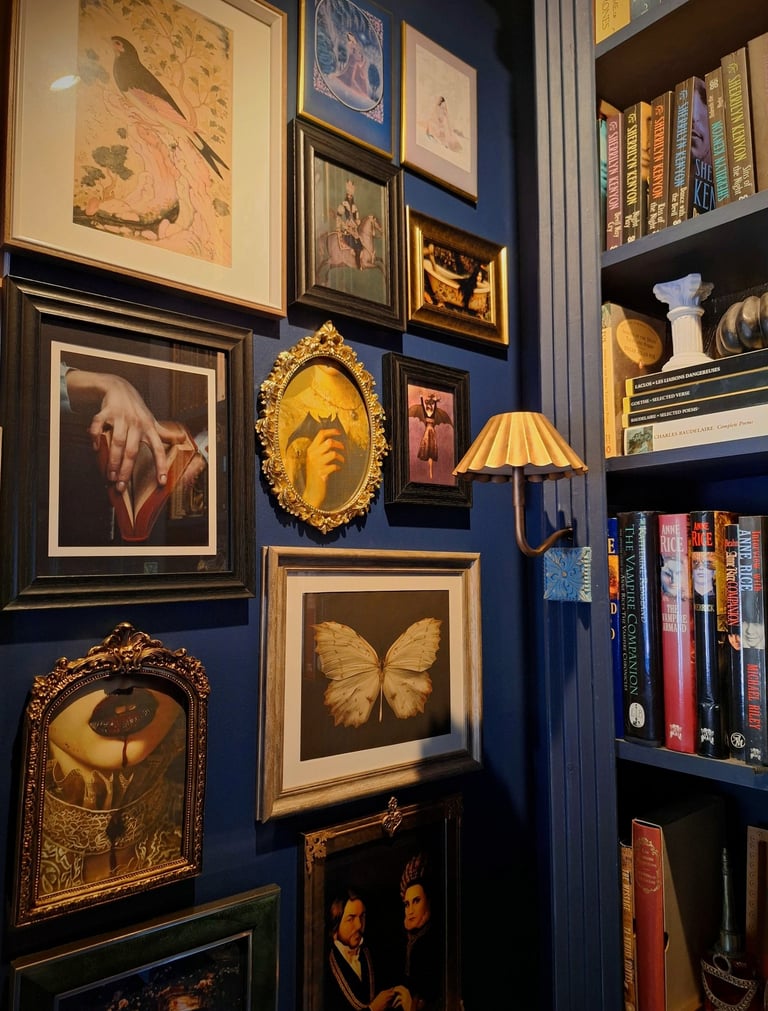
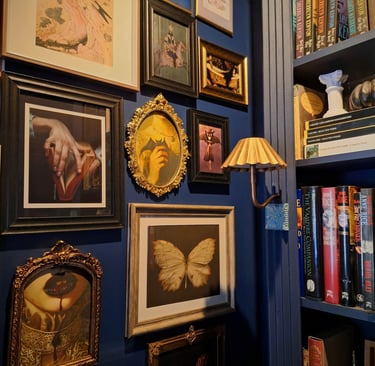
Step 6: Create Gallery Wall
The small wall behind the door felt like wasted space, but pairing the bookcase with a gallery wall turned it into a cosy focal point. I chose artwork and frames that leaned into the Victorian Gothic feel: moody colours, ornate frames with a mix of gothic and Mughal themed prints. It was also an opportunity to add images from one of my favourite TV shows, What We Do in the Shadows 🦇
Tip: to help you arrange different use paper to draw and cut out the exact frame sizes. Use blue tack to arrange them on the walls, move them around until you're happy, take a photo so you know what goes where.
Step 7: Styling the Shelves
Finally, I styled the shelves with books (of course!) and decorative pieces that echoed the theme - candles, curiosities and objects that tell a story. Layering different textures and shapes is key to making it feel collected, not just stored.
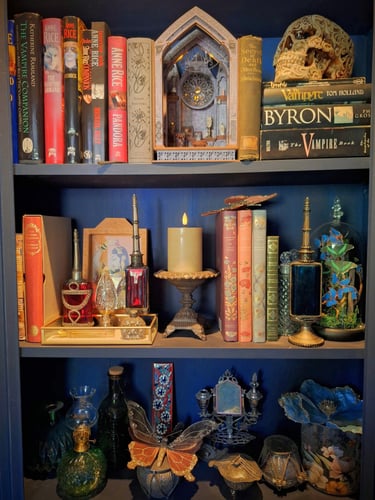
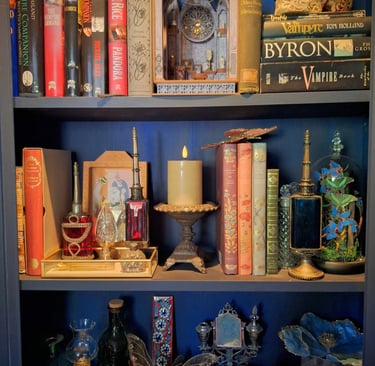
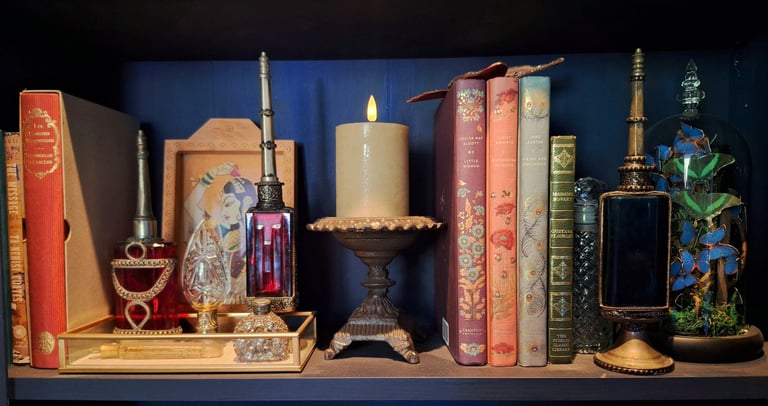
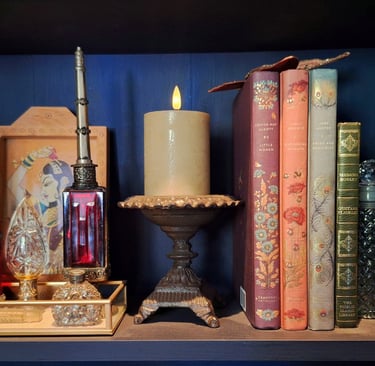
Book shelves are styled with various pieces I've collected over time like Victorian tear bottles, old perfume and antique bottles from the Middle East; as well as LED candles, oil lamps, handmade paper butterfly cloche and book-nook.
What was once a plain, inexpensive flatpack is now a character-filled, Victorian-inspired bookcase that completely transforms a small, hidden corner of my home. It’s proof that with a little creativity, even overlooked spaces can become meaningful and full of personality.
🎥 You can watch the full process in my YouTube Short here: Watch the transformation
For some inspiration check out this mood board on Pinterest where I've put together some ideas and useful links.
I’d love to hear your thoughts! Since comments aren’t available here, you can join the conversation on YouTube (where this project is shared. Tag me if you try a similar project—I’d love to see your creations!
Until next time
Anber
Chashm Arts
Handmade art where creativity, culture and storytelling blend to help you create a home that feels uniquely yours.
Follow us
Email - info@chashmarts.com
CONTACT US
Copyright © 2025 Chashm Arts
Secure payments with PayPal and Stripe
WhatsApp - +44 7503 176252
Shipping Policy